
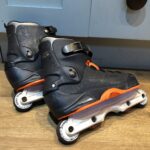
I’ve just finished my second ST soul plate mod and thought I’d share some tips for an easy mod. My first pair were ST-10s and Carbon plates. The second were ST-Pros with Seba plates. I think I did a decent job both times and I’m happy with the outcomes. I read guides on how to do this before I did the 10s but I found them both complicated yet not in-depth enough, so I thought I’d have a crack at doing one, which will hopefully be helpful for those at a similar skill level to me.
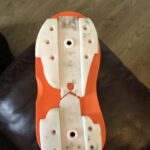
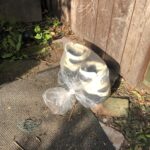
A word of warning, this is not a mod for the faint of heart. Once you start removing plastic, there’s no going back and it’s not easy to get hold of Sal boots in good condition. But there’s a lot of benefits, too. The Sal stock plates are pretty small, especially on the heel and negative sides. In the image, the white is the stock Sal plates and the orange is the carbon plate I fitted. They’re also pretty hard to get hold of, so hard to replace.
Soul plate size varies a lot and I have only done this with carbons and Sebas, so I certainly can’t give an exhaustive list, but I put large Carbons on my 29-29.5 ST-10s and the Sebas on my 28-28.5 pros were 41-43 (UK 8.5-9.5). Sebas are a long skate, so trimming at the front was required. The carbons were a very solid fit. Basically, you just need to make sure the backside and royale grooves are in the right places and then just shape to the boot as required. It’s fine if they stick out at the sides. That’s kinda what we’re going for, here.
It’s also worth noting that this is a guide for UFS Sals. Non-UFS Sals, like ST-8s have a few extra steps, as you have to drill the UFS holes yourself and add the hardware. I haven’t done this (yet), so I can’t help you there. This is the original guide I followed, which does talk briefly about modding non-UFS skates.
Anyway, on to the actual business of this post. First of all, things you’ll need:
- Dremel with a milling bit (biggest you can find)
- Bench Grinder
- Chalk pen
- Paper, glue and card
- Drill with a 4mm wood bit and countersink bit
- Vise
- 20 M4 bolts (if you don’t have the original plate screw available to you)
A lot of this stuff is optional or interchangeable but it’s what I used on the second mod. I didn’t use a lot of that stuff on the first mod and it took a lot longer and was a lot more difficult. It can be worth replacing the original plate screws as the Allen/hex heads get rounded out really easily. I hear good things about torx screws but I used Philips, because that’s what they had at the hardware store.
Step 1: Flatten the boot
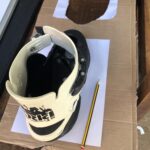
The first thing you’re gonna need to do is flatten the bottom of the boot. The ST boot has moulding at the sides and at the heel and toe. Some guides leave the toe and heel nubs on but I take them off. That’s up to you. Leaving them on means more modding of the plate. Taking them off means any plate will go on the boot with less modding.
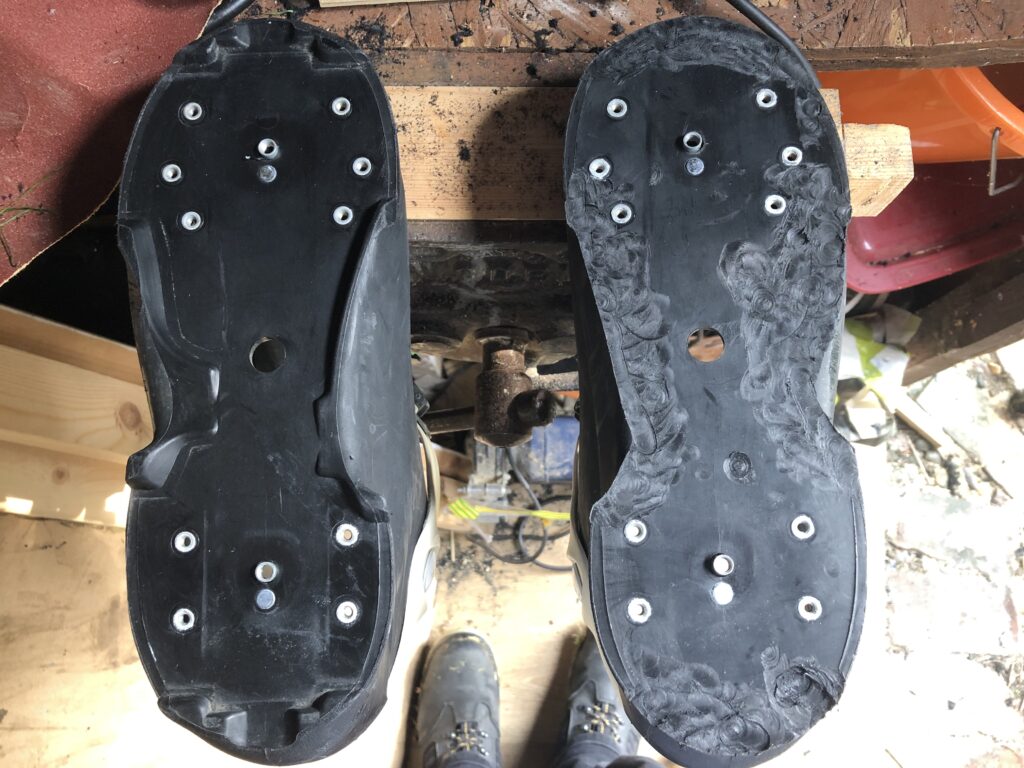
For this, I use a dremel. You can use a bench grinder but it’s harder to see what you’re doing. You can also use a sharp chisel. This is pretty fast and effective, if you have a very sharp chisel and are careful you don’t go too deep. I use the collar thing with the height set about 1mm above flat. This helps avoid going too deep and cutting in to the bottom of the boot. If you look at the image above, you’ll see I screwed up a bit on the first boot and took a chunk out at the heel so go easy and keep checking your depth to make sure it hasn’t slipped. The bits and collar were part of a cheap AliExpress set I bought so they aren’t the best quality. Work back and forth over the nubs. Go slow and don’t try and take too much material at once. I strongly recommend using a shopvac if you have one or you’ll have plastic dust and flakes everywhere. Be patient and keep going and you’ll get through it pretty quick. I had my dremel on a medium speed for this.
Step 2: Template
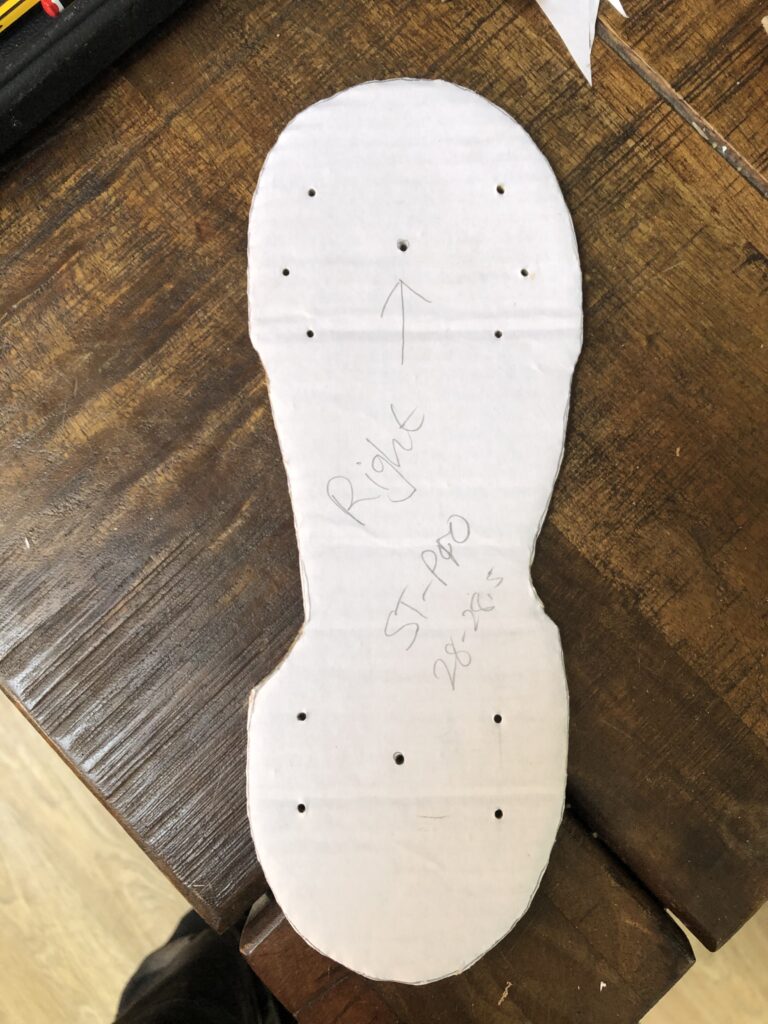
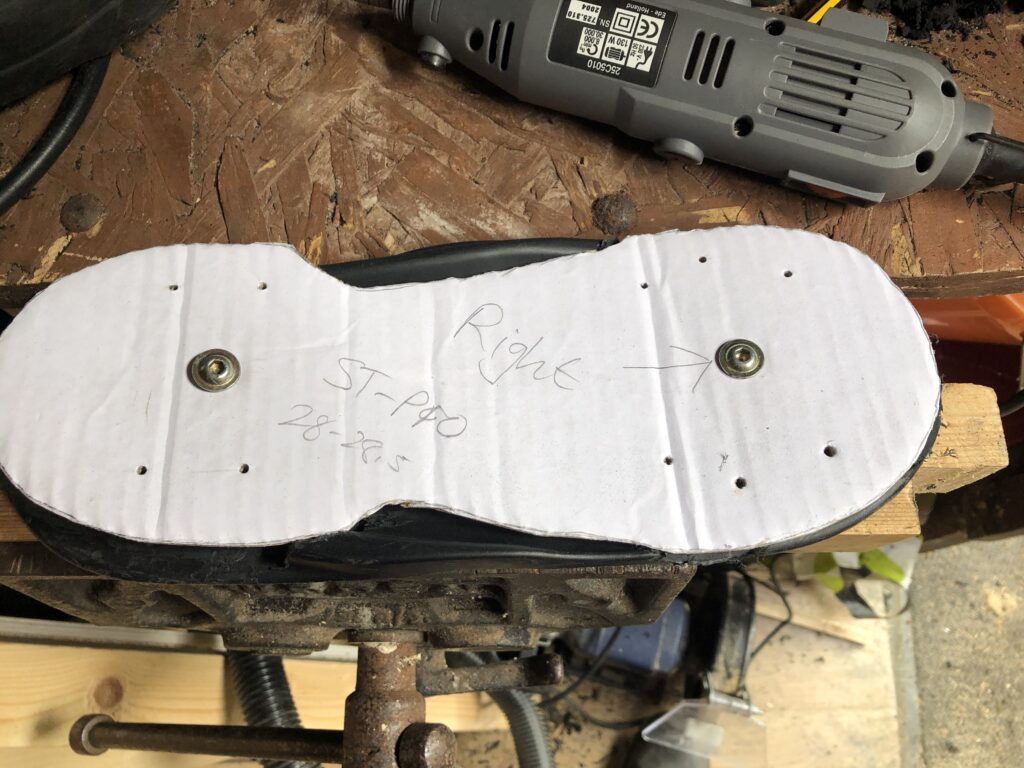
This is a step you can probably skip but I found it helped a lot, especially as I was peroxiding the cuffs on the pros so didn’t have access to the boot. That’s a whole different tutorial! Having a template of your boot makes it easier to mark your plate for cutting without a lot of boot in the way.
Once the boot is flat, put it on a piece of paper and trace round it. Mark the frame bolt holes and soul plate screw holes. Try and make these as straight and centred as possible or you’ll regret it later, trust me. Then glue that on some card and cut it out as accurately as possible. You’ll end up with something like this:
Step 3: Modding the plate
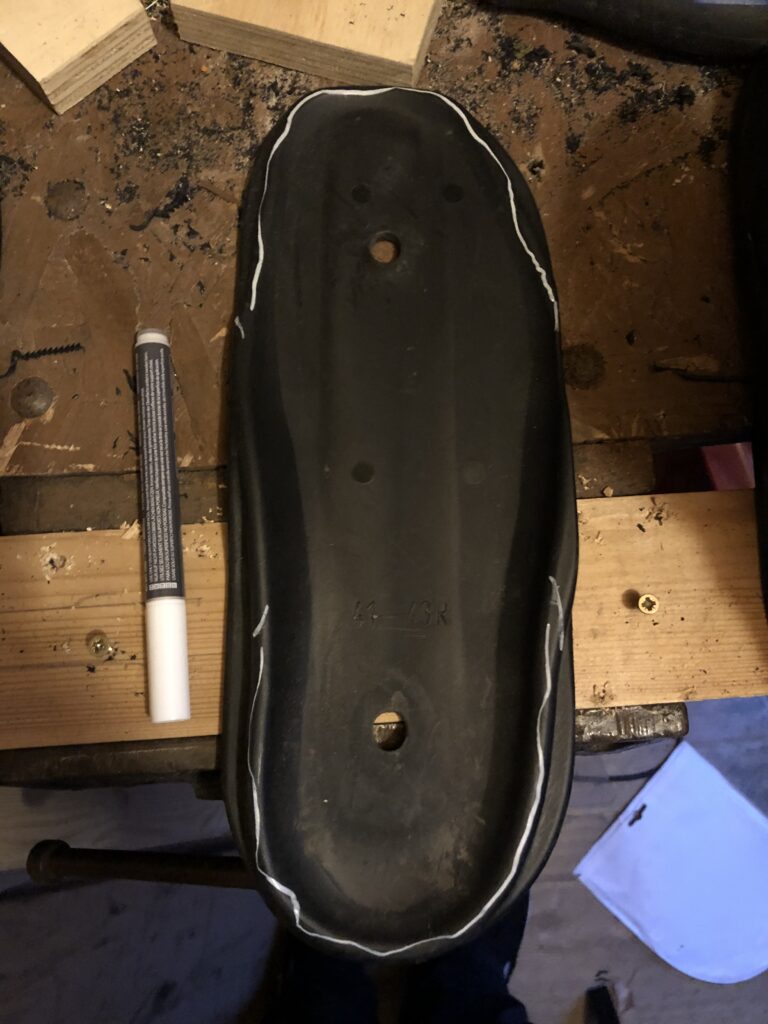
Put the boot on your plate, lining up the frame bolt holes as closely as possible. If you have some long frame bolts, put them in to help you. I didn’t, so I eyeballed it. Use your chalk pen to roughly mark the shape of your boot on to the plate.

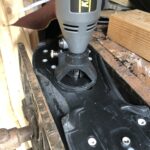
Next is to do the removal of the bulk of the stuff you need to remove. I used a bench grinder for this stage as it removes material quickly but be careful. The carbon plates are a lot softer than the Seba plates and I didn’t do those with the grinder. Again, go slow and easy. You want to leave margins where your marks are and only use the bench grinder to remove the large areas from the toe and heel. Once you’re done, you should have something like this:
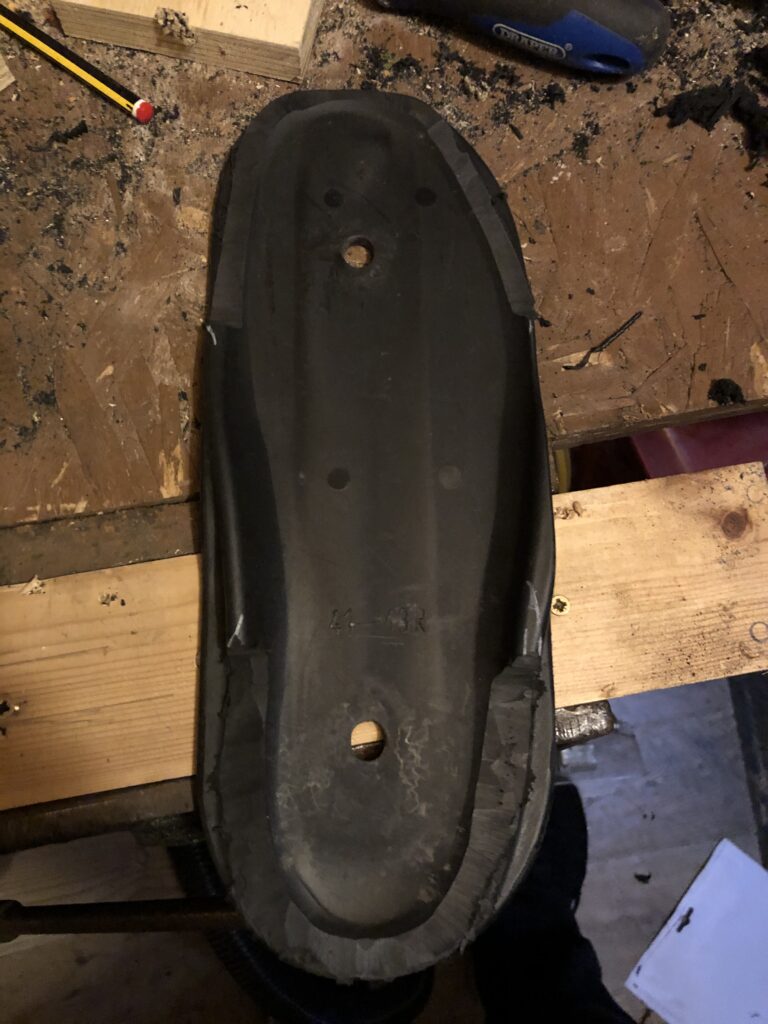
Feel free to take off as much material with the bench grinder as you’re comfortable with. The more you take off, the less dremeling you’ll need to do. Then use the dremel in the same way as you did with the boot to get the heel and toe areas nice and flat.
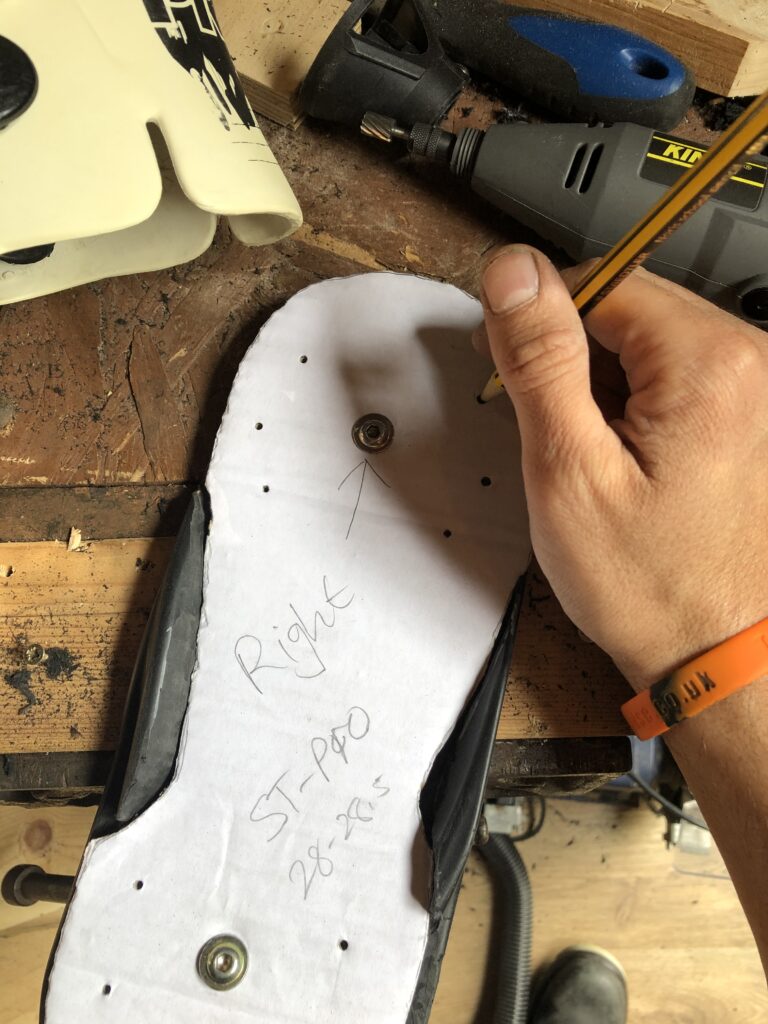
Now it’s time to start working on the tricky areas that will fit to your boot shape. Line your template up with the frame bolts in your plate and mark the contours of the boot. I colour in all the stuff to be removed as it makes it easier later to see exactly what needs to go. You can use frame bolts through the template to help with alignment.

Use the dremel without the collar and go slow and easy, making sure you’re not digging down below the flat level of the plate. Take out the stuff marked in white. You’ll likely need to keep testing it on the boot and then trimming off a little more at a time, until you have a nice, flat fit. It’s better to go slow and check the fit regularly, to avoid taking too much off.
A good tip here is to mount the plate on a bit of wood with two screws through the frame bolt holes. If you can get it on and off without taking the screw out, that’s ideal. It doesn’t need to be tight. It’s just to stop it wandering whilst you dremel.
The Seba plate required some material to be taken off the toe, as well. I did that last with the bench grinder.
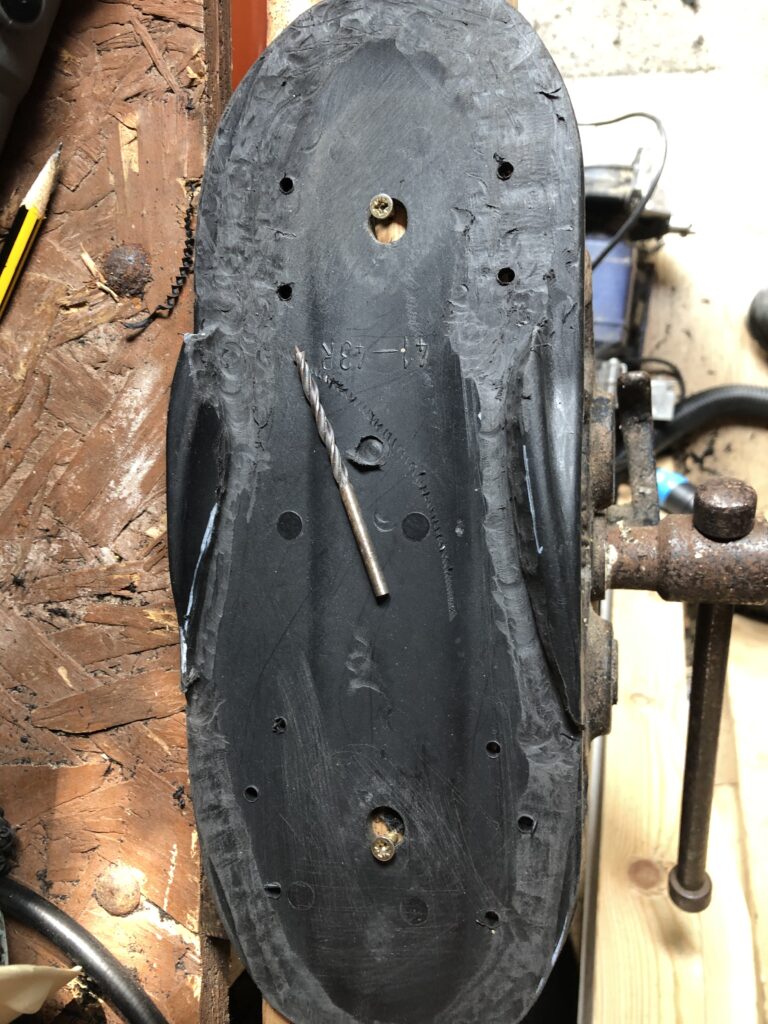
Once you have a nice flat fit, put your template back on and mark where your soul plate screws are going. If you have the original soul plates for your Sals, use these to mark your plate screws. Line up the frame groove and bolt holes and mark the screw points. This is a more accurate method but I didn’t have plates for the Pro boots and they were a smaller size than my 10s. The template does work but may require some finessing if your markings aren’t perfect.
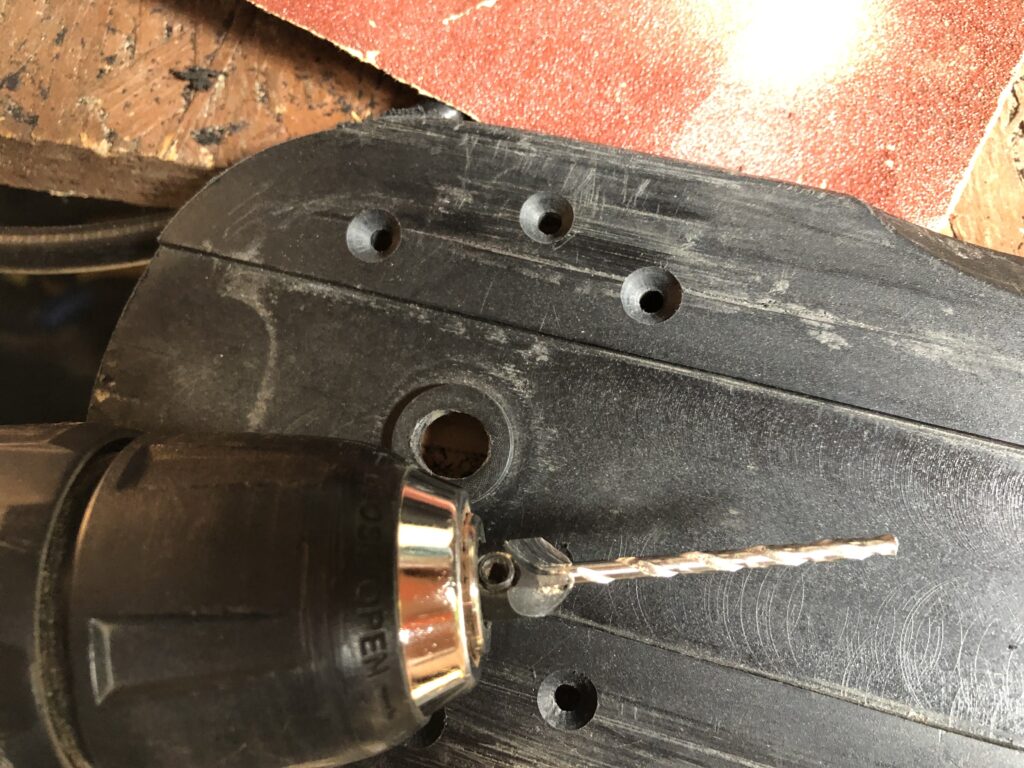
Now, drill through with a 4mm wood bit. I find the wood bit works well as the point makes it accurate and if cuts through just fine. Then flip the plate over and add countersinks on the underside. Not too deep and don’t go through. It’s easy done. If you don’t have a countersink bit, you can use an HSS drill bit the same size as the screw heads but you’ll need to be super careful you don’t punch through. Using a drill stop is recommended. It’s not the end of the world if you punch through (I did on a couple on the carbon souls, using a larger drill bit) and the screws will still go on and hold it in place, but it’s not ideal.
Now slap it on the skate and screw it on with the plate screws and you’re all done! Get some frames on there and go skate!
If you found this useful, drop me a comment below and I’d love to see pics of your finished mods, too! Send them to me here.
**UPDATE**
Just finished my third set, the white Seba plates in the featured image. Getting faster and easier. This time I took more material off with the bench grinder and rounded out the royale and BS plates for a more finished look. I also used sandpaper a lot more for taking off material and finishing them nicely. I used a thin screwdriver sharpened to a point to mark the plate screws holes. This allowed much more accuracy and I only had one out of 20 that was a little off. I placed the skate on the flattened plate and then used the screwdriver to mark directly through the plate screw holes. I also used torx screws and I highly recommend it!